Showing posts with label Kitchen. Show all posts

China Pantry Reorganization

CHINA HUTCH REORGANIZATION
GOAL: To clear the clutter and create a usable space
TIME: 2 Hours COST: 2 Hours Labor

 
Welcome to a china hutch in need of organization. 
Behind closed doors hides an extra hour of organizing.
The display shelves were overwhelmed with bits and pieces.
Some of it should not have been on display.
Some needed to be displayed differently and grouped according to style.

AFTER
Items are grouped together in sets or complimentary styles. 

Before, on the left, clutter. After, on the right, a serene space.
Now there's room for a buffet on the counter top.

Organized drawers: candles, decorative stones, wine baubles, extra silverware and more.
 
Hidden behind closed doors, these things are grouped into sets.  The candles and candlesticks are on the far left. The remaining bridge set items are on the far right. In the middle, all the misc. things that were cluttering the display cabinets line two shelves.  Of all the small odds-and-ends, only the front top row in the center are those items which are regularly used.  Easy to reach, but not pretty enough for a display cabinet, these now have a home when not in use.

FINAL THOUGHTS & RECOMMENDATIONS
TWO QTY- 18 gallon Rubbermaid containers of excess stuff was removed from this area. Very little was recycled or donated.  Mostly it was put where it belonged in other parts of the house. Too many times stuff gets put down in the wrong spot. A little extra effort prevents a mountain of clutter.

Once again, this was a reorganization which required only elbow grease and nothing new needed to be bought. Remember, don't buy organizers until you know you need them. For this project, nothing more was used than cardboard boxes to bundle candles and reused plastic baskets to organize decorative stones. 

Pretty and functional

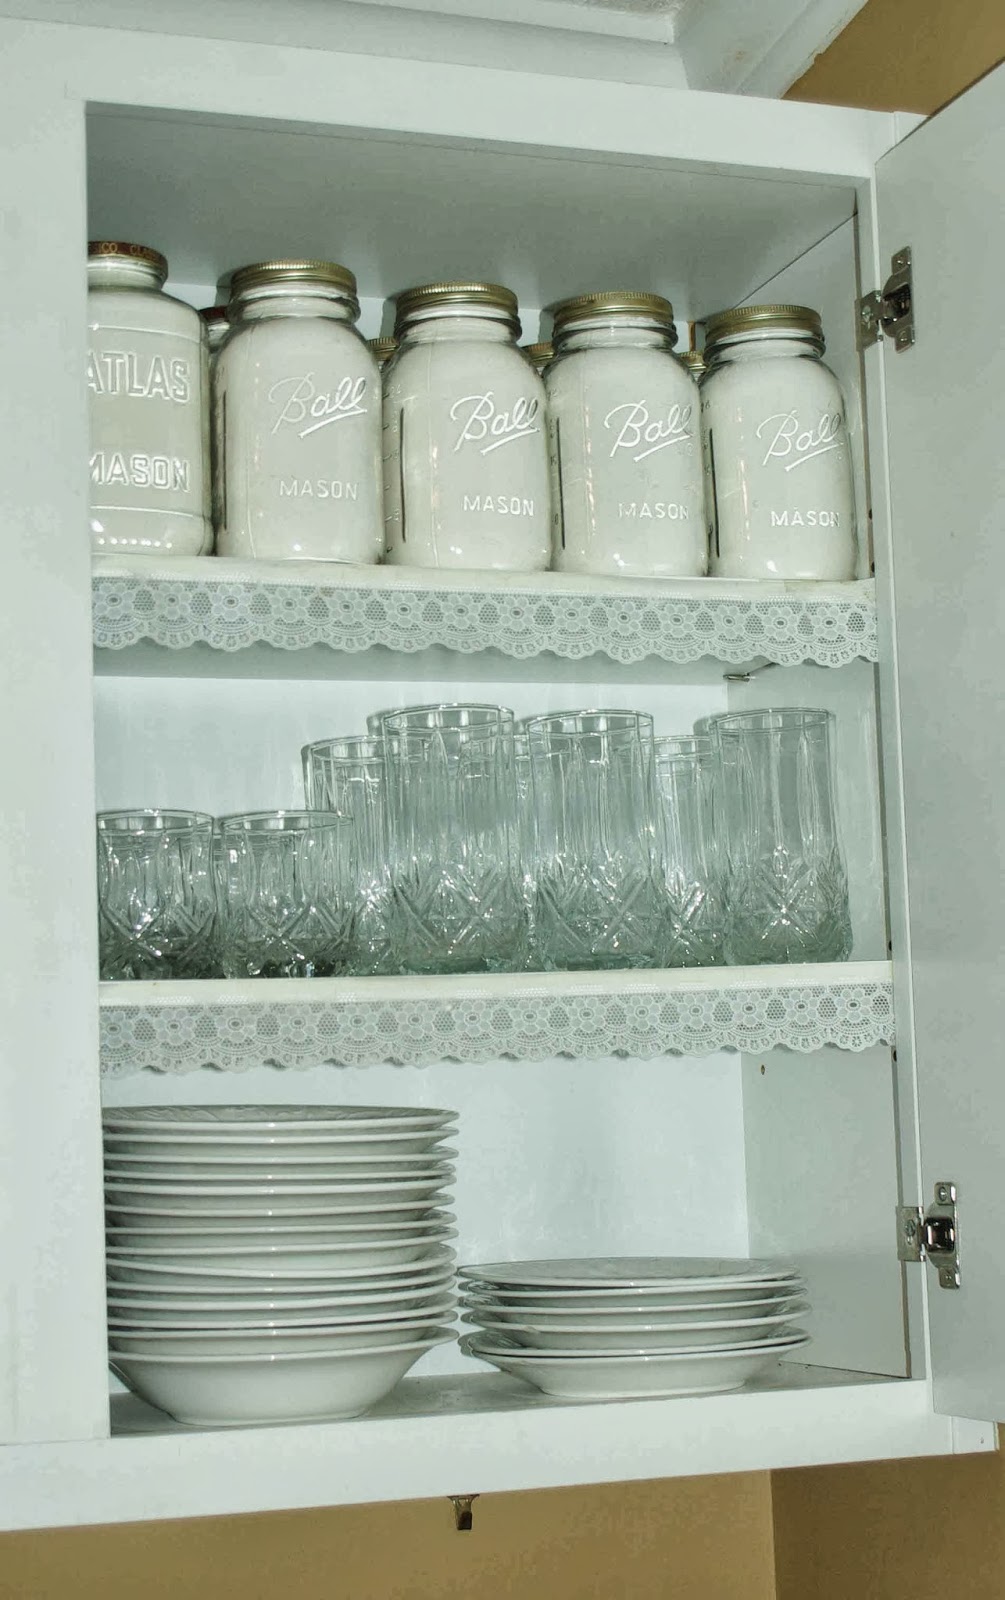
With 25 LB of bread flour to store, canning jars and recycled spaghetti jars come in handy.
An underutilized shelf serves for storage. With the lace trimmed shelves it makes for a pretty little picture.

Dish Pantry Organization

GOAL: Create a usable, clutter-free dish and china pantry
TIME: 3 Hours  COST: Labor Only
BEFORE
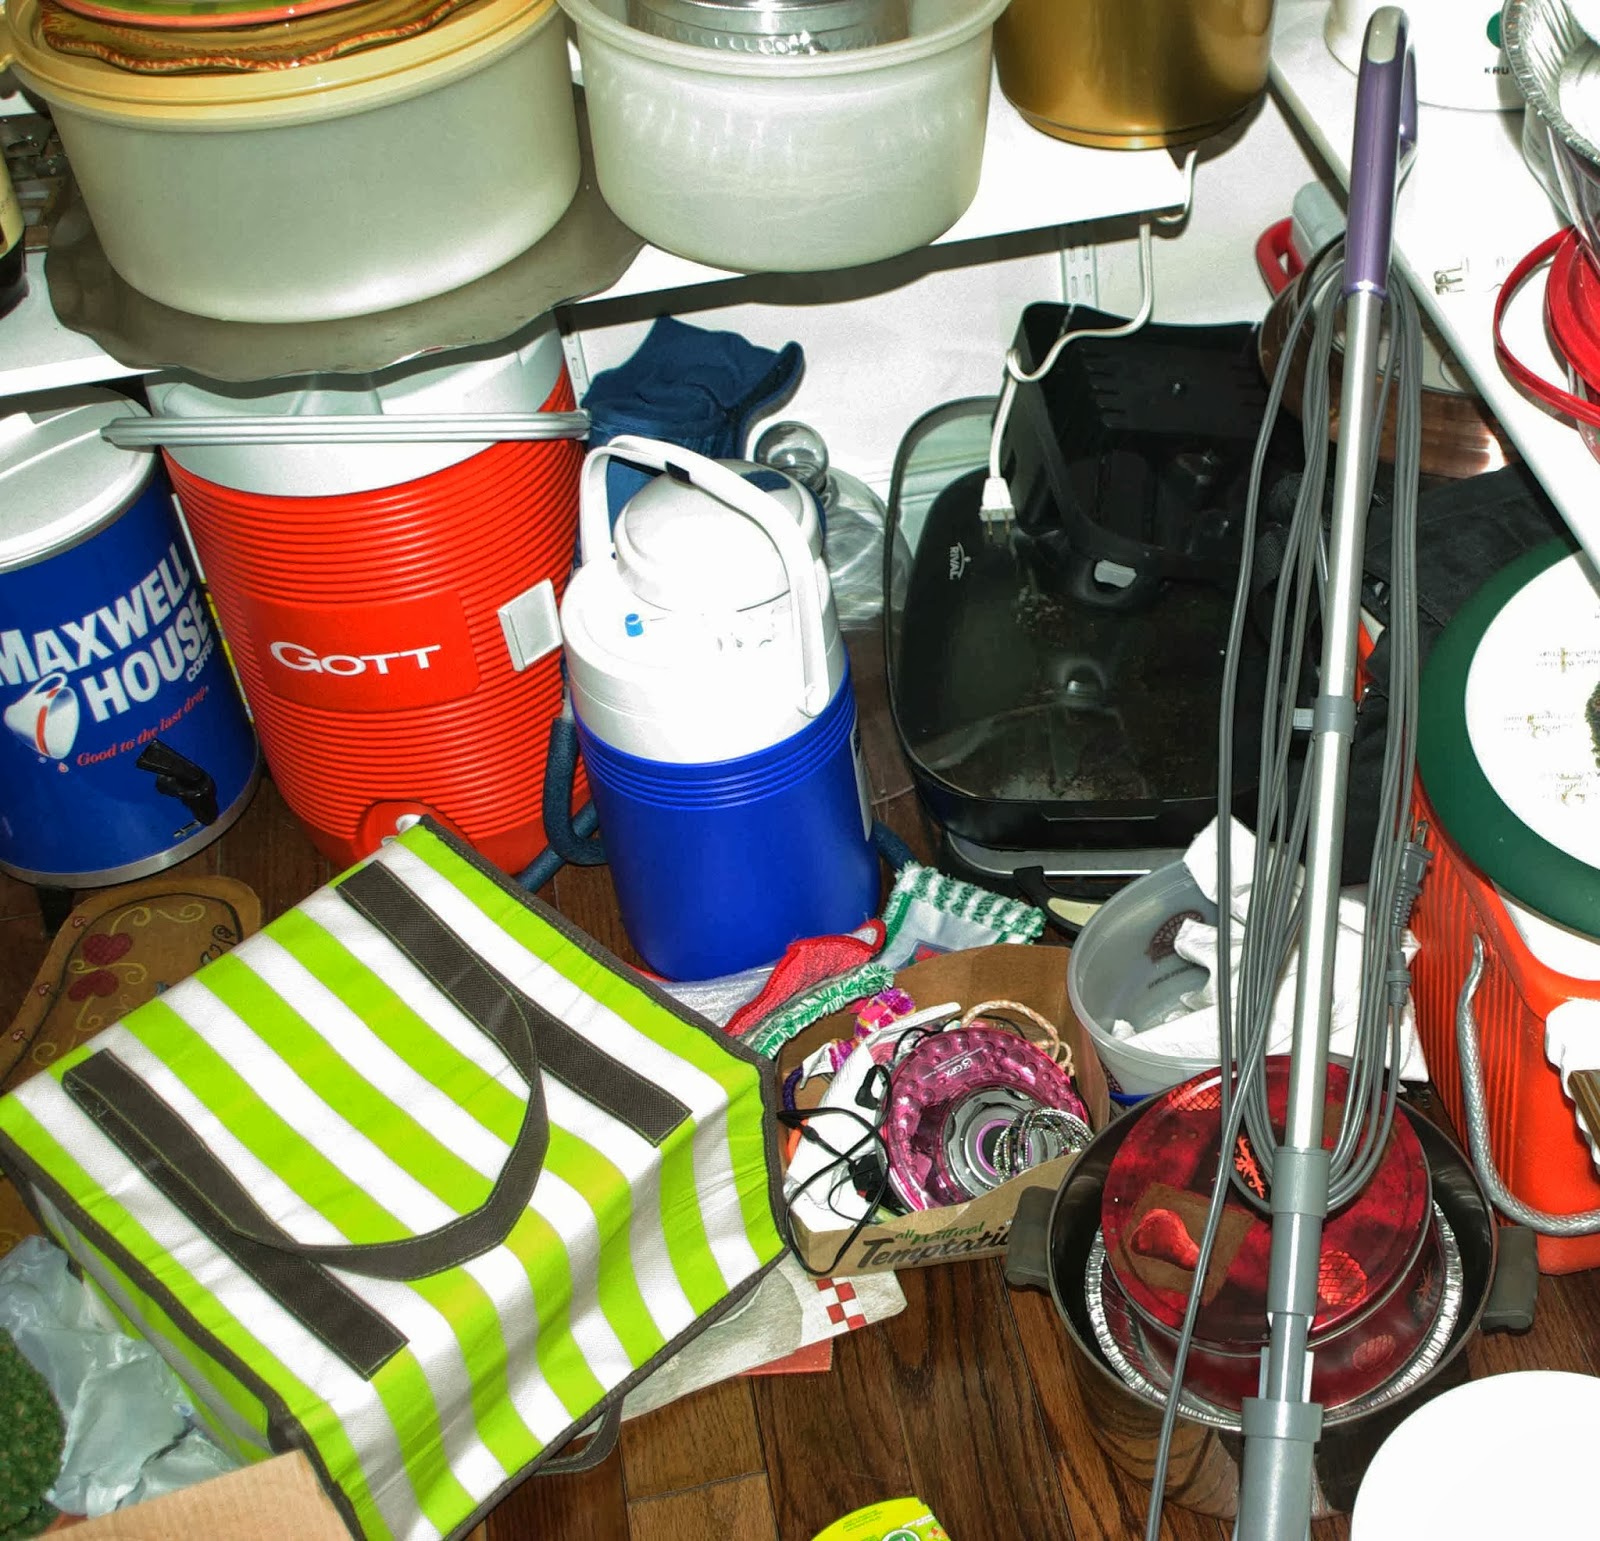
Open the door and there was hardly any room to walk.

 
This dish / china pantry had become a storage closet.
  
Some items were tossed in out of convenience. 
Many things had been forgotten.
A bookcase for cook books had become a drop spot for odds and ends.
Books were double stacked.  Over half the books were not cooking related and 
were moved to another area in the home.
 
Holiday items and  knick-knacks cluttered the shelves. 
 
Three table tops (6x5) of items were removed.  A third removed was designated for either donation or recycling.The rest went to other parts of the home where it belonged.  Surprisingly, nearly a third was holiday related and went into a storage room where it had not been returned after use.

AFTER


Everything has been grouped together. 
Seldom used items are on the top shelves.
Picnic coolers, over sized tupperware, and paper goods are on the floor level. 
Next are appliances and then cleaning goods over the paper goods, all nearest the door.
An "odds" shelf accommodates those single bits and storage jars (second shelf on right).
On the back wall, several sets of dishes are grouped together.  These are not everyday dishes, which are in the main kitchen area. Above the dish sets are glass sets. (Again, not the everyday glasses.)
The wall to the right has shelves organized according to purpose. Mixing bowls are together. Casserole dishes share a shelf. Punch sets and stock pots take up the top two shelves.
 
At last a place to walk.

 
The book case has room for more cook books.


 \\\
 
Below, a small corner beside the book shelf.  Behind the foot stool, a metal waste can has grill utensils inside.  Originally double hung with the frying pans, there wasn't enough room for both.
In the middle, the book case top is clear and the cookbooks are organized along side recipe boxes. 
At right, items hung on the walls stayed in place.
  
 
RECOMMENDATIONS
1. Single nails aren't necessarily the prettiest but are the the most functional sometimes, such as those used for the fly swatters. These remained unchanged.  
2. Other things such as the mops and brooms need more than a nail. I suggested that the homeowner reconsider the quantity of mops, etc. and then secure these in a better arrangement behind the door with anchored screws or hooks.
3. Remember to return items where they belong after they are used.  Do it right the first time and you won't have to do it again a second or third time.
4. Group dish sets together.  You are more like to use them for special occasions if they are easy to find and have a designated space to return to when finished.
5. Don't buy organizational tools until you know what you have.
6. The well worn step stool stays in the pantry where it is used.  Another step stool serves the clothes closets in this home.  
7. Keep objects together that serve a similar purpose such as casserole pans, mixing bowls, or party dishes.
8. Paper goods, extra trash bags and baggies are next to the door for convenience.


Cleaning Tip

Too embarrassed to take a before picture, I offer the finished product, a shiny clean vent filter for my stove's exhaust fan.
THE PROBLEM: I don't think I'm alone in saying I hate to clean my stove. This time while cleaning under the vent hood, I looked at the metal filter that covers the exhaust fan. Filthy! A quick snap and it was out. Only then was the extent of the greasy grossness apparent.

I heated a kettle of water and ran boiling water through it with no luck. Soaking it in a sink of dish liquid and hot water brought few results until I took an old toothbrush to it. While the brush loosened quite a bit of the accumulated grease, the soap wasn't cutting the grease. Next I tried wiping the edges with a damp paper towel and Ajax. It helped the edges some, but the filter was still embedded with grease. All the while I kept pouring boiling water through it. Still no luck.
HINT: Use tongs to lift the filter from the boiling water.

AT LAST, THE SOLUTION: I emptied all the water from the sink, laid the still damp filter flat and sprinkled a good layer of automatic dish detergent on the surface. Next I poured another kettle of boiling water over it and let it sit. Within 2 minutes the water was brown; after 5 minutes the metal shown through. I emptied the sink and loosened particles with a toothbrush under a stream of warm warm while another kettle boiled. Then I repeated the process. In 5 minutes, the filter was aluminum bright, almost new. Left to air dry, it went back in with ease.

DON'T FORGET: All the grease going down the drain is not good. Pour several TBSP of baking soda in the drain, then add 1/2 a cup of vinegar. It will bubble like one of those old school project volcanoes, sure, but it cuts the grease, cleans the drain and eliminates odors.